 (Image via
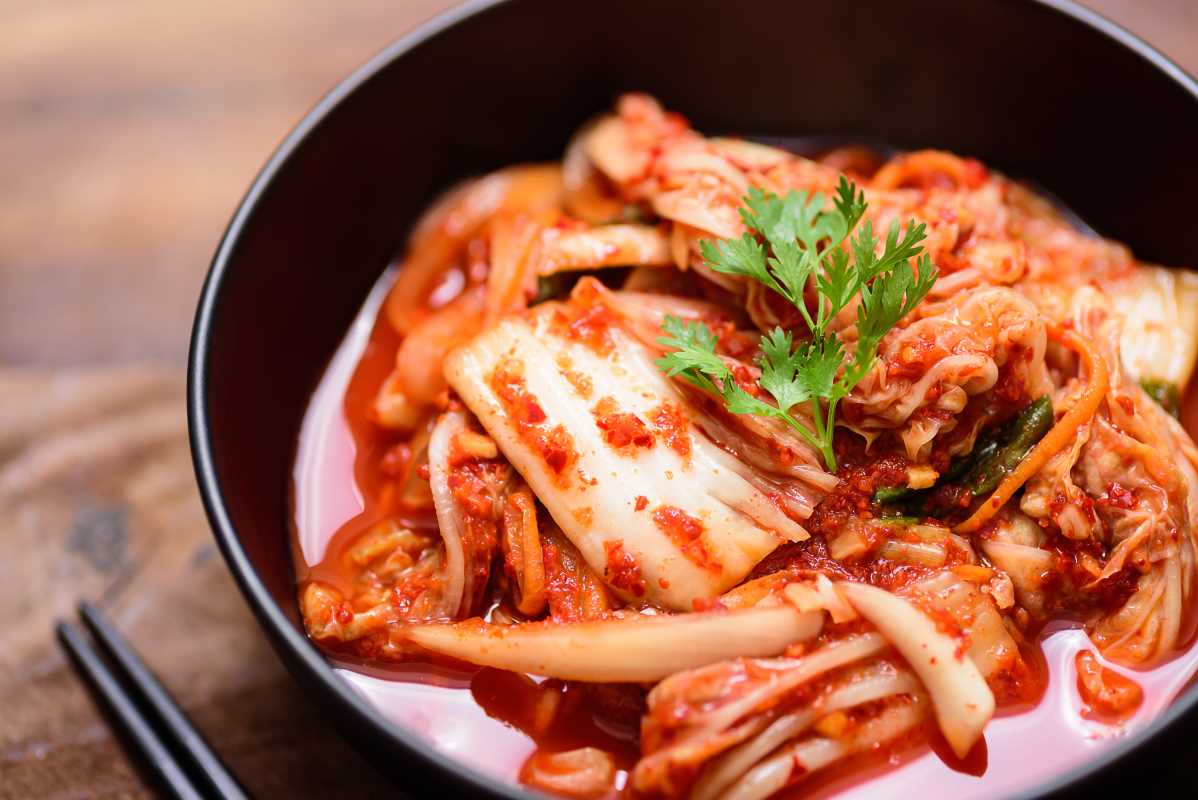
Kimchi isn’t just a dish; it’s a deliciously complex symbol of Korean culture, history, and tradition. This bold, spicy, fermented side dish, made primarily from napa cabbage and Korean radish, has been a vital part of Korean cuisine for centuries. Families gather to make kimchi in a communal tradition called kimjang, preparing large batches to see them through the winter. Beyond its rich cultural roots, making kimchi at home offers the joy of personalizing flavors and connecting with an age-old tradition. Homemade kimchi is also fresher, packed with probiotics, and more satisfying than store-bought versions. Whether you’re already a fan or trying it for the first time, learning to make kimchi is a rewarding culinary adventure.
The Ingredients You’ll Need
To make authentic Korean kimchi, you need a mix of fresh vegetables and a flavorful seasoning paste. While some ingredients might seem specific, most are available at Korean or Asian grocery stores.
Main Ingredients:
- 1 large head (3–4 pounds) Napa cabbage
- Korean radish (mu) (optional but traditional)
- 1/2 cup coarse sea salt or kosher salt
Seasoning Paste:
- 1/2–1 cup Korean chili flakes (gochugaru) (adjust according to your heat preference)
- 3 tablespoons Fish sauce
- 2 tablespoons salted shrimp (saeujeot) (optional for vegetarians)
- 5–6 cloves garlic, minced
- 1-inch piece of ginger, minced
- 1 tablespoon sugar
- 4–5 green onions or chives, cut into 1-inch pieces
Optional:
- Carrot or pear, thinly sliced
- Rice flour slurry (2 tablespoons rice flour mixed with 1/2 cup water, cooked and cooled)
Step-by-Step Instructions
Making kimchi takes time, but each step is manageable and totally worth it.
Step 1: Salt the Cabbage
- Slice the napa cabbage lengthwise into quarters, removing the core, and rinse it thoroughly under cold water.
- Sprinkle coarse sea salt between each leaf layer, focusing on the thicker white parts near the stem. This step softens the leaves and preps them for fermentation.
- Place the cabbage in a large bowl or basin and leave it for 2–3 hours, flipping it every 30 minutes. You’ll notice the cabbage wilting as the water is drawn out by the salt.
- To test readiness, bend a cabbage leaf. It should feel flexible but still have some crunch. Rinse the cabbage thoroughly 2–3 times in cold water to remove excess salt, then set it aside to drain.
Step 2: Make the Seasoning Paste
- If using a rice flour slurry, cook 2 tablespoons of rice flour with 1/2 cup water over medium heat until it thickens, then set aside to cool.
- Mix the gochugaru, minced garlic, ginger, fish sauce, and salted shrimp in a large bowl. Add sugar for balance and stir everything together.
- Toss in your optional ingredients, like carrots or pear slices, green onions, or chives. Stir in the rice flour slurry to deepen the paste’s texture.
- The paste should be savory, spicy, and slightly sweet. Adjust seasoning how you want. Keep in mind the flavors will intensify as the kimchi ferments.
Step 3: Combine Cabbage and Paste
- Wear kitchen gloves (essential to protect your hands from chili!) and rub the seasoning paste thoroughly over each cabbage leaf. Massage it in to coat every surface evenly.
- If you’re using radish or other vegetables, mix them in with the cabbage to coat everything in the paste.
Step 4: Pack the Kimchi
- Pack the seasoned cabbage tightly into a sanitized glass jar, food-safe plastic container, or traditional Korean onggi pot if you happen to have one.
- Press the mixture down firmly to remove air pockets, leaving 1–2 inches of room at the top for the kimchi to expand during fermentation.
- Seal the container loosely or use a fermentation lid to allow gases to escape.
Step 5: Fermentation
- Leave the jar at room temperature (around 64–77°F) for 1–3 days. Check daily. You should see bubbles forming and notice the signature tangy smell developing.
- When the flavor reaches your liking, transfer the jar to the fridge, where fermentation slows. It will continue to develop over weeks or even months.
It’s necessary to taste the kimchi during fermentation to find your preferred level of tanginess. Many enjoy “fresh” kimchi, while others wait until it’s sour and complex. A properly stored batch of kimchi can last 3–6 months or longer, depending on the conditions and how sour you like it.
Kimchi-Making Tips for Success
- Brining Matters: The salting step softens the cabbage and ensures your kimchi ferments properly. Skimping on salt may lead to spoiled batches.
- Keep it Airtight: Always pack your kimchi tightly to prevent too much exposure to oxygen, which can cause harmful bacteria to grow.
- Experiment with Seasoning: Traditional recipes call for vegetables like radish and chives, but you can also experiment with your favorite flavors. Add apple for sweetness, or skip the fish sauce for a vegan twist.
Creative Ways to Use Your Kimchi
Kimchi is incredibly versatile and can add a pop of flavor to a wide variety of dishes. Here's how you can enjoy it:
Classic Side Dish
Serve your kimchi as it is, with a bowl of steamed rice or alongside Korean BBQ. Its bold flavors balance perfectly with rice and meat.
Kimchi Jjigae (Stew)
Got some older, sour kimchi? Use it to make a rich, comforting stew with pork, tofu, and vegetables. The tangier the kimchi, the better it is for jjigae.
Kimchi Fried Rice
Toss chopped kimchi into a hot pan with day-old rice, sesame oil, soy sauce, and an egg for a quick, flavorful meal. This is an easy way to transform a jar of kimchi into something warm and satisfying.
Kimchi Jeon (Pancakes)
Combine kimchi with a simple batter of flour and water, then fry until golden and crispy. These savory pancakes are perfect as a snack or appetizer.
Whether as a simple side or the star ingredient in your next dish, kimchi is a flavor-packed addition to any meal. Don’t be afraid to experiment. Your creativity might just lead to your new favorite recipe!