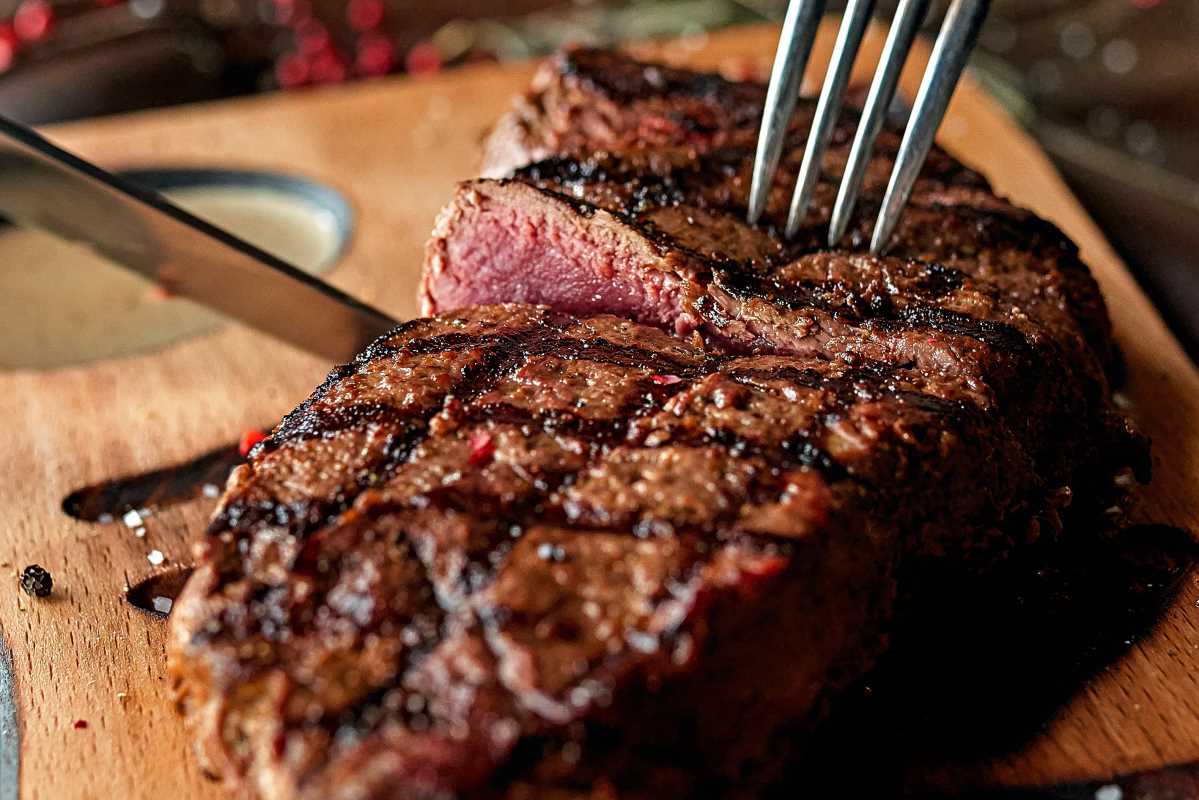
There’s something magical about slicing into a juicy, perfectly cooked steak at a restaurant. That beautiful sear, the melt-in-your-mouth texture, and the flavor explosion make it feel like a special experience. But guess what? You don’t need to pay for an expensive meal out to enjoy steakhouse-quality results. You can make a restaurant-style steak right in your home with a few simple tricks and some kitchen confidence. From choosing the perfect cut to mastering cooking techniques, we’re breaking it all down to help you turn your kitchen into a five-star steakhouse. Whether you're cooking for yourself and your family or hosting friends, you’ll soon be serving steaks so good they’ll rave about them for weeks.
Step 1: Choose the Right Cut
The first secret to a stellar steak is picking the right cut. Not all steaks are created equal, and each cut has its own flavor, texture, and level of tenderness. Here are some popular choices and what makes them stand out:
- Ribeye: Known for its intense flavor and marbling (those streaks of fat running through the meat), the ribeye is rich, juicy, and oh-so-tender. It’s a great option if you’re after bold flavors.
- Filet Mignon: This cut comes from the tenderloin and is prized for its buttery texture. It’s the most tender steak but has a milder taste compared to a ribeye. It’s perfect for pairing with sauces like a red wine reduction.
- New York Strip: A balance between tenderness and flavor, the New York strip has a firm texture and a rich, beefy taste. It’s great for steak lovers who want something hearty but not overly fatty.
- T-Bone/Porterhouse: These cuts combine the best of both worlds. It’s part filet mignon, part strip steak, separated by a bone. They’re large and great for sharing.
When grocery shopping, look for steaks at least one inch thick with good marbling (those lovely white streaks of fat). Marbling is key to flavor and tenderness.
Step 2: Season it Right
You don't need a cabinet full of fancy ingredients to make a steak taste amazing. The truth is, less is often more.
- Salt: The most important step. Use coarse salt (like kosher or sea salt) to season your steak generously right before cooking. Salt helps draw out the steak's natural juices and enhances flavor.
- Pepper: Freshly cracked black pepper adds a little spicy kick. Sprinkle it on after the salt.
- Optional Add-Ons: If you want to get creative, simple rubs with garlic powder, smoked paprika, or dried herbs can elevate the flavor. But keep it simple. Good-quality steak shines on its own.
If you have time, season your steak with just salt and leave it uncovered in the fridge for a few hours (or even overnight). This dry-aging process improves flavor and helps give it that signature crust.
Step 3: Master the Cooking Technique
Restaurant-style steaks are all about texture. They’re crispy on the outside and juicy on the inside. You’ll need high heat and the right cooking method to achieve this. There are two foolproof options.
The Pan-Searing Technique
Pan-searing a steak is quick, effective, and ideal for home cooks.
- Preheat the Pan: Use a heavy pan like cast iron for the best results. Heat it on medium-high until it’s super hot. You want the steak to sear, not steam.
- Add Oil: Coat the pan lightly in a high-smoke-point oil, like vegetable or avocado oil. Once the oil starts to shimmer, you’re ready to cook.
- Sear the Steak: Lay the steak in the pan gently (away from your body to avoid splatter). Sear without moving it for 2–3 minutes per side until a golden-brown crust forms.
- Baste with Butter (Optional): Add a knob of butter, a smashed garlic clove, and fresh herbs (like rosemary or thyme) to the pan. Tilt the pan and spoon the melted butter over the steak for extra flavor.
- Finish in the Oven: If your steak is thick, transfer the pan to a 400°F oven after searing. Cook for a few more minutes to your preferred doneness.
The Grilling Method
For that smoky outdoor flavor, grilling your steak is a fantastic choice.
- Preheat the Grill: Heat one side of the grill to high (direct heat) and the other to medium-low (indirect heat). This two-zone method helps avoid overcooking.
- Sear Over Direct Heat: Place the steak over the hot side of the grill and sear for 2–3 minutes per side until charred.
- Finish Over Indirect Heat: Move the steak to the cooler side of the grill and close the lid. Cook until it reaches your desired doneness.
Step 4: Nail the Perfect Doneness
How done is done enough? It depends on your preference. Use an instant-read thermometer to take the guesswork out. Here’s a quick guide to doneness:
- Rare (Cool red center): 120–130°F
- Medium Rare (Warm red center): 130–135°F
- Medium (Warm pink center): 135–145°F
- Medium Well (Slightly pink center): 145–155°F
- Well Done (No pink): 155°F and above
Remember, steak will continue to cook for a few minutes after you remove it from the heat, so pull it off when it’s 5°F below your target temperature.
Step 5: Rest and Serve
Once your steak is done, resist the temptation to cut into it right away. Resting is a must! Transfer the steak to a plate, tent it loosely with foil, and wait 5–10 minutes. Resting lets the juices redistribute, ensuring every bite is as juicy as possible.
When ready, slice the steak against the grain (this means cutting perpendicular to the lines in the meat). Serve it with your favorite sides, such as mashed potatoes, roasted veggies, or a crisp salad.
Cooking steak is as much an art as it is a science. The more you practice, the better you’ll get at judging temperature, timing, and seasoning. Want to take things up a notch? Play around with marinades, compound butters, or specialty steak sauces. Try different cuts to discover new flavors and textures.
 (Image via


